In the last post, we looked at how to create a new FR Batch. This is needed to schedule the FR Batch. Before reading this post, I highly recommend you read the previous post on how to create a FR Batch. Alright lets go ahead and schedule the batch.
Select the Batch to be Scheduled
Navigate to the Workspace. Select Navigate > Schedule > Batch Scheduler

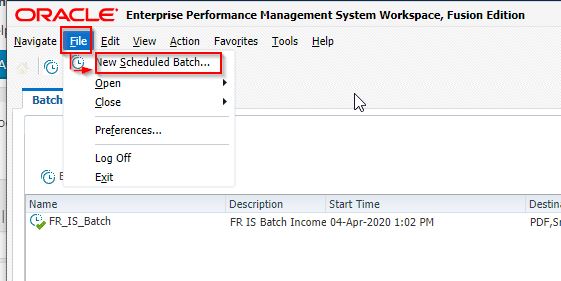
In the next screen you will be able to see the list of all the jobs that were submitted earlier. To create a new scheduled job, click on File > New Scheduled Batch.
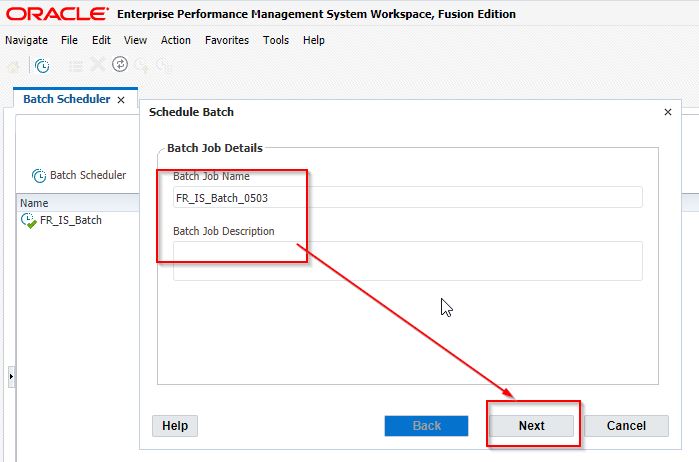
Give a job a name and description and click Next. The description is optional.
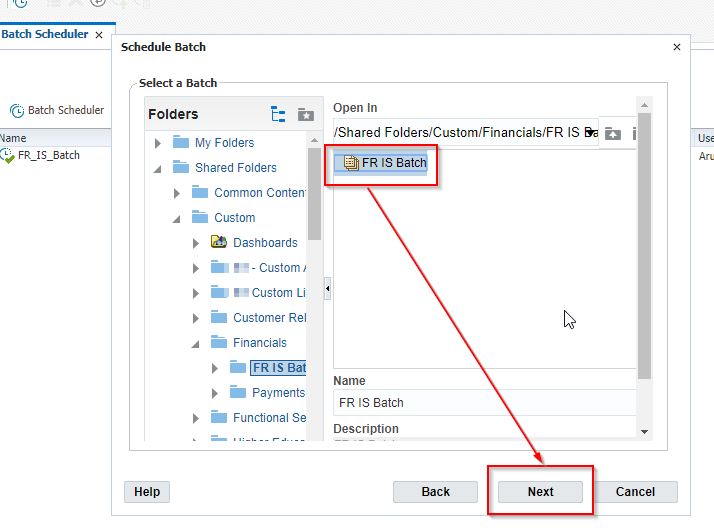
When you click next you will see the BI catalog. Go ahead and navigate to the folder where you have saved the batch. To learn how to create a batch read my previous post here.
Select Frequency and Schedule Options
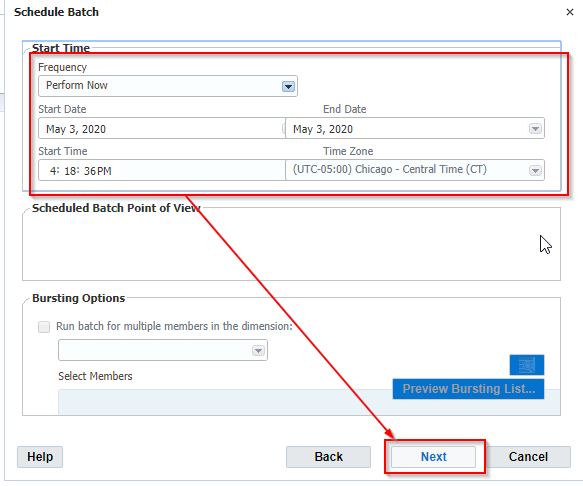
Once you select the batch to be scheduled, the system will ask you to provide
- Login Credentials
- Frequency
- Start Date
- End Date
- Start Time
- Bursting Options : we will look at this in more detail in the next post.
The following options are available for Frequency drop down:
- Perform Now
- Perform Once
- Perform Daily
- Perform Weekdays
- Perform Weekly
- Perform Monthly
- Perform Quarterly
- Perform Semiannually
- Perform Annually
- Perform on Demand
Provide the login credentials and other details as shown below and click on Next.
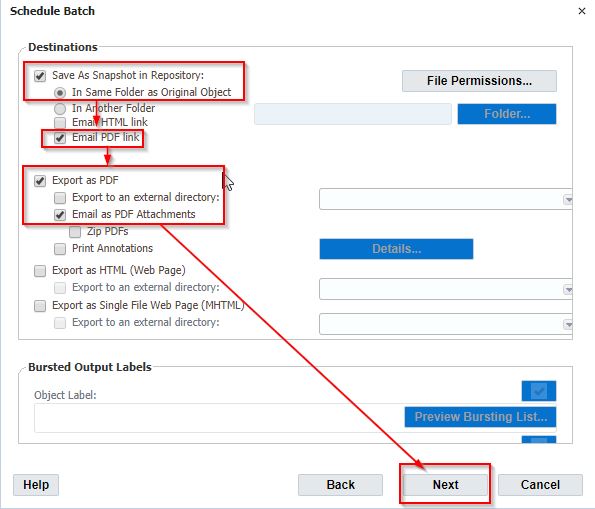
Provide Destination Details
You may select from the following options:
- Save as snapshot in Repository
- Export as PDF
- Export as HTML (Web Page)
- Export as Single File Web Page (MHTML)
Review the screen shot for more details. In the example, we are saving the file to the repository and send the PDF link as email. We have also selected the option to Export the output as PDF.
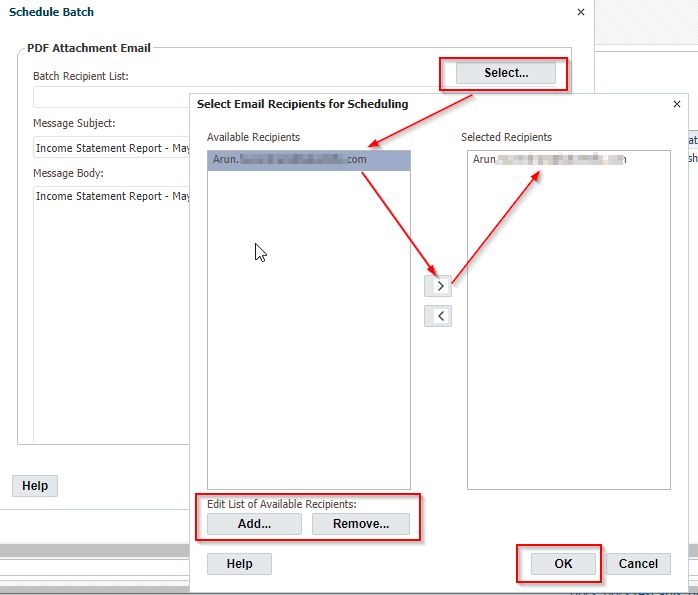
Provide Recipient Email ID
Since we selected the Email option in the Destination options, the system will ask you to provide the email address of the recipient.
Click on the Select button to select the recipient. If you don’t see email address in the “Available Recipients” section, go ahead and click on “Add” button to search for and select the recipient. You can select more than one recipient.
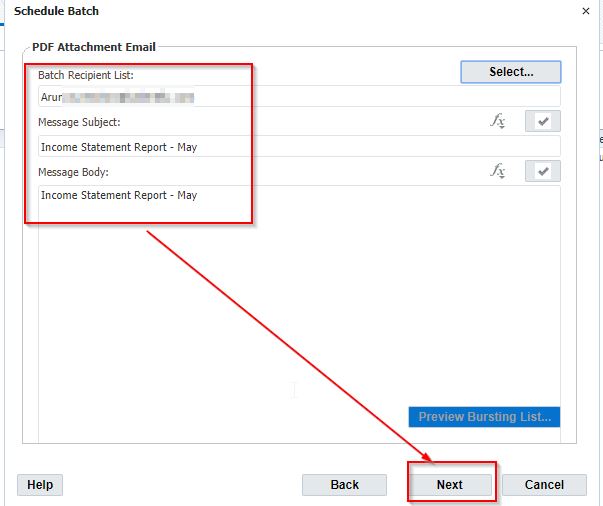
Go ahead and provide the Email Subject and Email Body details. Once you are satisfied verify the details and click “Next“.
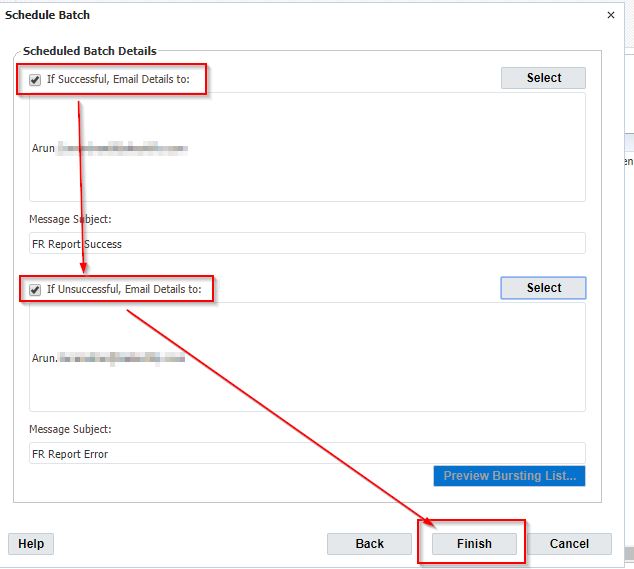
Job Status Notification
The next step is to provide email ids to receive notification regarding the status of the job. Provide the details as shown below and click “Finish“.
Review the Job
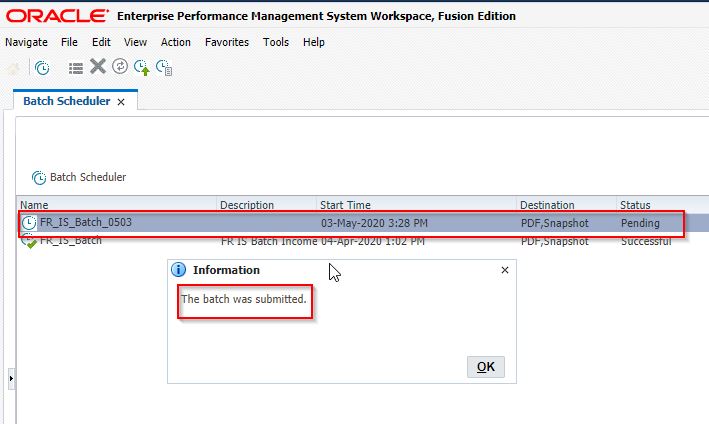
Once you submit the you will taken to the list of jobs. You will notice that the job has been submitted and it is in pending status. You can clock the refresh button to view the status of the job. Since you have provided the email id, you will receive a notification once the job completes or runs into any error.
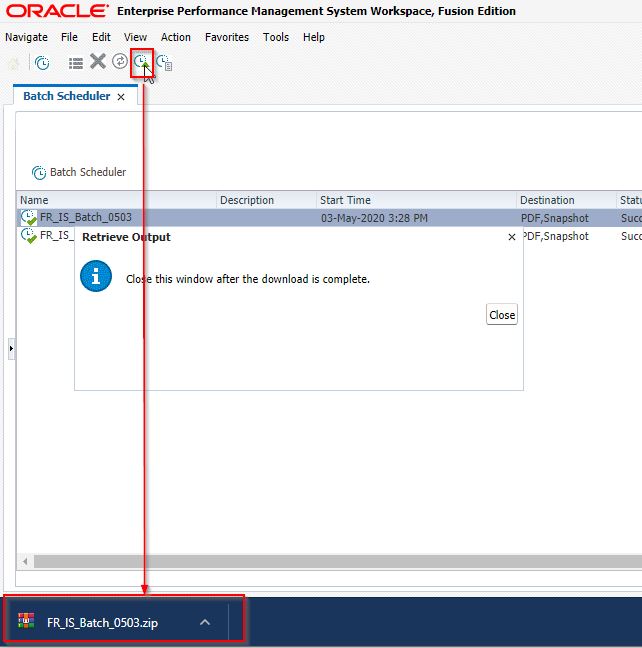
Click on the “Retrieve Output” option to download the output file. This is applicable if you have selected the option to “Save as Snapshot in Repository”. See the below screenshot for details.
You will also receive an email with the PDF output. I hope you find this useful. Let me know if you have questions. In the next post we will look into more details of bursting. Stay safe.